rails
玩玩看Rails
對Rails有些興趣,而線上剛好有Step by step教學,不如就試試看(本篇只是個操作記錄,並不是教學)。
資料來源
http://railsbridge-docs-zh-tw.herokuapp.com/docs/
Rails 安裝
由於這台Mac已經有裝ruby、Git所以有些步驟就跳過,直接輸入sudo gem install rails就會開始安裝。
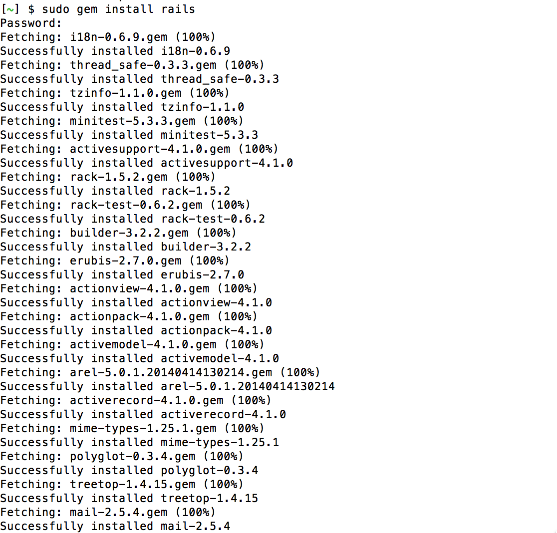
接下來會等一段時間,等待結束後,就輸入一些指令來驗證是否安裝成功。
which git
which ruby
which rails
ruby -v
rails -v
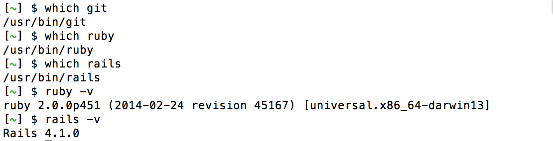
大概會有以下的結果。
設定Git
這我設定好了,所以跳過~。
http://railsbridge-docs-zh-tw.herokuapp.com/installfest/configure_git?back=osx_railsinstaller
生成一個SSH Key
終端機輸入以下指令
ls ~/.ssh/id_rsa
如果出現No such file or directory,就是沒有SSH Key,沒有就是要生一個,在終端機輸入以下指令。
ssh-keygen -C {your email} -t rsa
接下來會出現要安裝的資料夾,然後詢問是否要密碼,密碼會要求輸入兩次,空白的也可以。
然後會出現以下內容
Generating public/private rsa key pair.
Enter file in which to save the key (/Users/student/.ssh/id_rsa):
Created directory '/Users/student/.ssh'.
Enter passphrase (empty for no passphrase):
Enter same passphrase again:
Your identification has been saved in /Users/student/.ssh/id_rsa.
Your public key has been saved in /Users/student/.ssh/id_rsa.pub.
The key fingerprint is:
88:54:ab:77:fe:5c:c3:7s:14:37:28:8c:1d:ef:2a:8d [email protected]
SSH Key會放在~/.ssh/id_rsa.pub。
id_rsa.pub 是你的 public key(公鑰),你可以隨便拷給別人。
id_rsa 是你的 private key(私鑰),請當做機密妥善保管,不可流出。
驗證SSH
終端機輸入
ssh-add ~/.ssh/id_rsa
應該會出現
Identity added: /Users/apple/.ssh/id_rsa (/Users/apple/.ssh/id_rsa)
註冊Heroku
這註冊流程很容易,直接跳到安裝,註冊後他會要求安裝Toolbelt,而基本上也是下一步到底就能裝完的,安裝後終端機輸入:
heroku version
有可能出現以下文字,那就是成功了
heroku-toolbelt/3.2.0 (x86_64-darwin10.8.0) ruby/1.9.3
接下來把SSH 加到Heroku
先輸入以下指令:
heroku keys:add
接下來會先要使用者輸入Heroku帳密,然後再選擇要用哪組SSH key。
開始Rails
前面跑了很久,終於開始Rails了。找好一個資料夾後,輸入以下指令:
rails new test_app
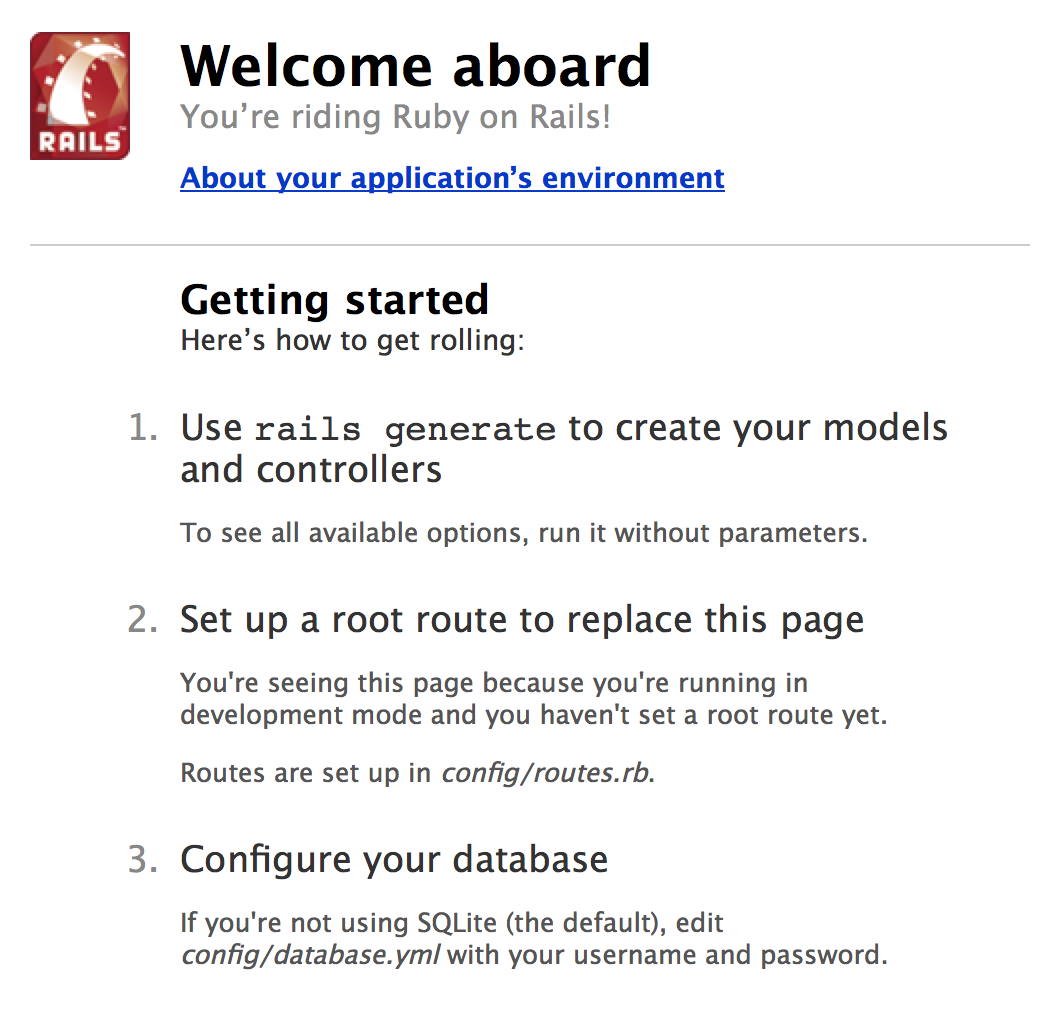
再整個專案建立完成後,輸入cd test_app,然後再輸入一下指令開始rails吧:
rails server
建立DB
在終端機依序輸入以下指令:
rails generate scaffold drink name:string temperature:integer

rake db:migrate

rails server
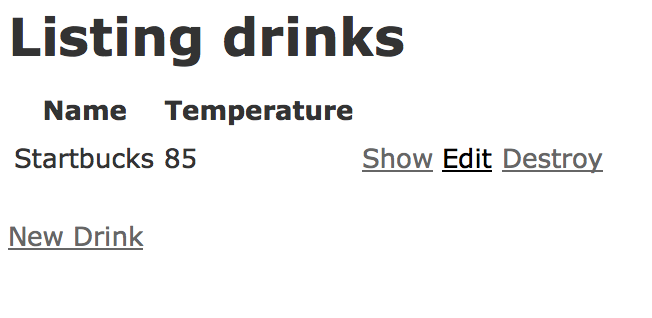
接下來打開http://localhost:3000/drinks,會出現和之前不同的畫面,而這已經是簡單的應用程式了。
Deploy Rails 應用程式
Step 1 使用Git
等等沒意外的話,應該是用Git上傳,所以要先建立Git儲存庫。依序輸入以下指令:
git init
git add -A
git commit -m "initial commit"
這樣git就已經簽入了。
Step 2.1 程式部署(Deploy)到 Heroku
這邊教學裡有提到要建立Heroku應用程式,就先照做吧,依指令輸入:
heroku create
接下來輸入git remote show來驗證是否成功,沒意外應該會出現heroku。
Step 2.2 Rails 應用程式來部署到 Heroku
這部分要修改一個檔案,到text_app資料夾內學找一個Gmefile的檔案,用純文字編輯器修改。
原
gem 'sqlite3'
修改為
group :development, :test do
  gem 'sqlite3'
end

group :production do
  gem 'pg'
  gem 'rails_12factor'
end
而在教學網站有提到資料庫的問題,這邊就轉貼參考吧。
http://railsbridge-docs-zh-tw.herokuapp.com/裝機趴-installfest/deploy_rails_應用程式?back=開新rails應用程式
為什麼要用 SQLite (sqlite3) 和 PostgreSQL (pg) ?
SQLite 和 PostgreSQL 是兩種不同的資料庫。我們把 SQLite 用在開發環境(Development)及測試環境(Test),因為它比較好安裝。我們把 PostgreSQL 用在生產環境(Production)因為 Heroku 幫我們剛裝好了,而且功能比 SQLite 多。現在我們已經根據開發、測試、生產環境拆分了資料庫,這是 Rails 的預設。
這邊我都是按照流程操作了…,再繼續輸入指令(指令輸入久了總有一天應該會的…)
bundle install --without production
step 2.3 設定 root route
再用編輯起打開config/routes.rb找到下面這行:
# root 'welcome#index'
然後替換成這個
root 'drinks#index'
設定完後把這動作簽入
git add .
git commit -m "Updates for heroku deployment"
Push 到Herofu
就跟平常push到github一樣,不過會問個問題而已
git push heroku master
接下來在終端機打這些字,heroku就會run起來了
heroku run rake db:migrate
接下來可以到官網或者是heroku open就可以開啟該網站。也可以透過heroku info看詳細資訊。
你應用程式的網址會是 application-name.herokuapp.com ──以上面的例子來說,它就會是 floating-winter-18.herokuapp.com。請確定你有看到應用程式的歡迎頁,然後留著瀏覽器視窗不要關掉。
登入Heroku網頁一樣可以看到應用程式的網址