css
用CSS呈現影像比對效果
http://lea.verou.me/這位工程師的CSS能力非常優異,他的blog有很多意想不到的效果(而且是個正妹),這邊來分享他的其中一個效果。
本篇來源:http://lea.verou.me/2014/07/image-comparison-slider-with-pure-css/
範例
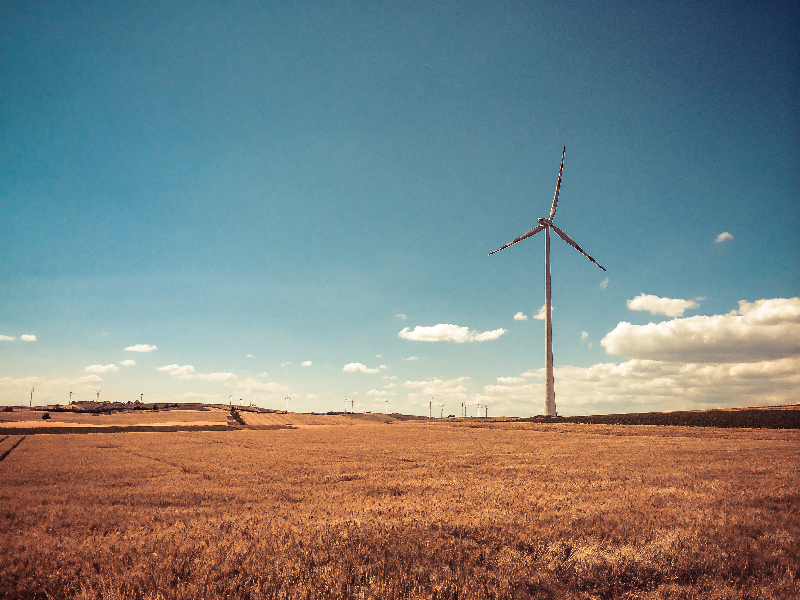
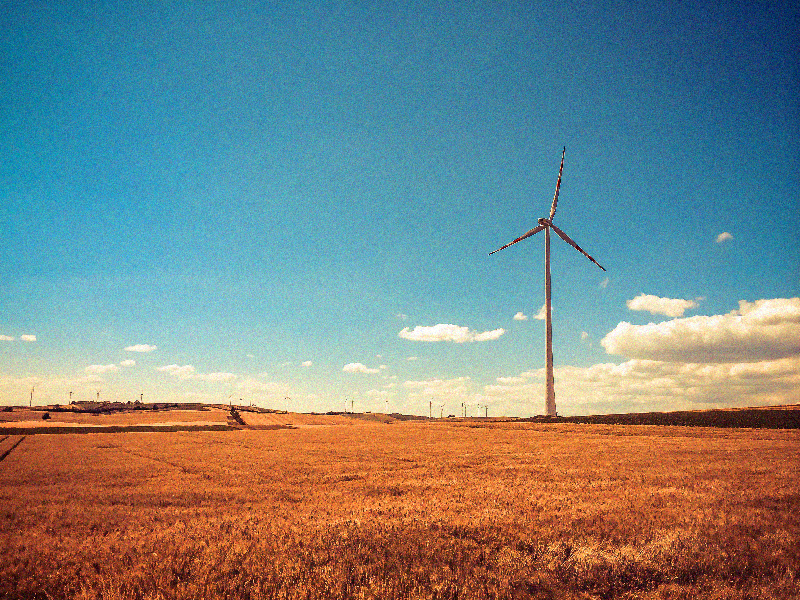
Lea Verou 這個範例中並沒有使用到js,並且用少量的css就能達到效果,其中的resize:是關鍵的屬性,這可以讓使用者控制範圍大小,這個屬性讓div像 textarea一樣。
<div class="d0722 demo">
	<div class="image-slider">
		<div>
			<img src="/images/2015-07-22_demoimage01.jpg" alt="">
		</div>
		<img src="/images/2015-07-22_demoimage02.jpg" alt="">
	</div>
</div>.image-slider{
// 外部容器定位
position: relative;
display: inline-block; // 上層的最大範圍不會超過image
line-height: 0;
& > div {
// 內部上層影像容器
position: absolute;
top: 0; bottom: 0; left: 0;
width: 25px;
max-width: 100%;
overflow: hidden;
resize: horizontal; //使用者可以重新調整區塊大小
&:before {
// 右下方提示可縮放的示意三角形
content: '';
position: absolute;
right: 0; bottom: 0;
width: 13px; height: 13px;
padding: 5px;
background: linear-gradient(-45deg, white 50%, transparent 0);
background-clip: content-box;
cursor: ew-resize;
-webkit-filter: drop-shadow(0 0 2px black);
filter: drop-shadow(0 0 2px black);
//使用filter 可以用圖示輪廓做陰影
}
}
img {
user-select: none; //圖片無法被選擇
max-width: 400px;
}
}後記
本站重新改變了風格,也是重新開始新的篇章(版型來源),接下來繼續來寫CSS吧。